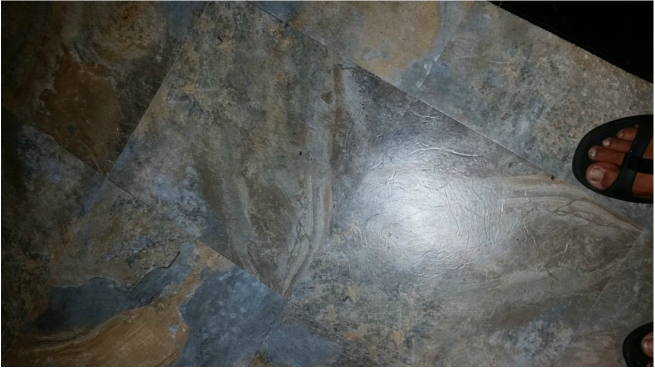
 All Images © Lyn Lomasi; All Rights Reserved Installing vinyl flooring in your RV can be a great way to save on many levels. Find out below five of the ways we found it helpful and why we installed it in our RV ourselves almost immediately. (more below)
Mud And Spills Clean Up Easy The RV life often involves raw and dirty adventuring -- and sometimes kids. Oh yes, and some of those nasty RV only messes that can happen in the restroom...well, we won;t go all the way there. For all those unfortunate messes in your motorhome or camper, vinyl flooring makes cleanup so much easier. Vinyl Flooring Makes A Great Waterproof Barrier When we purchased our RV, we noticed the previous owners just painted straight over the sub-floor. Not a super huge deal. But that made it more vulnerable to going bad faster. So, we decided to cover it up with vinyl flooring almost immediately. This actually has helped create a waterproof barrier and keep the sub-floor sturdy much longer. This way, if our roof ever leaks or we have some nasty spill or accident, it's less likely to ruin the sub-floor. (more below)
Get That Clean "Home" Feel At A Low Cost
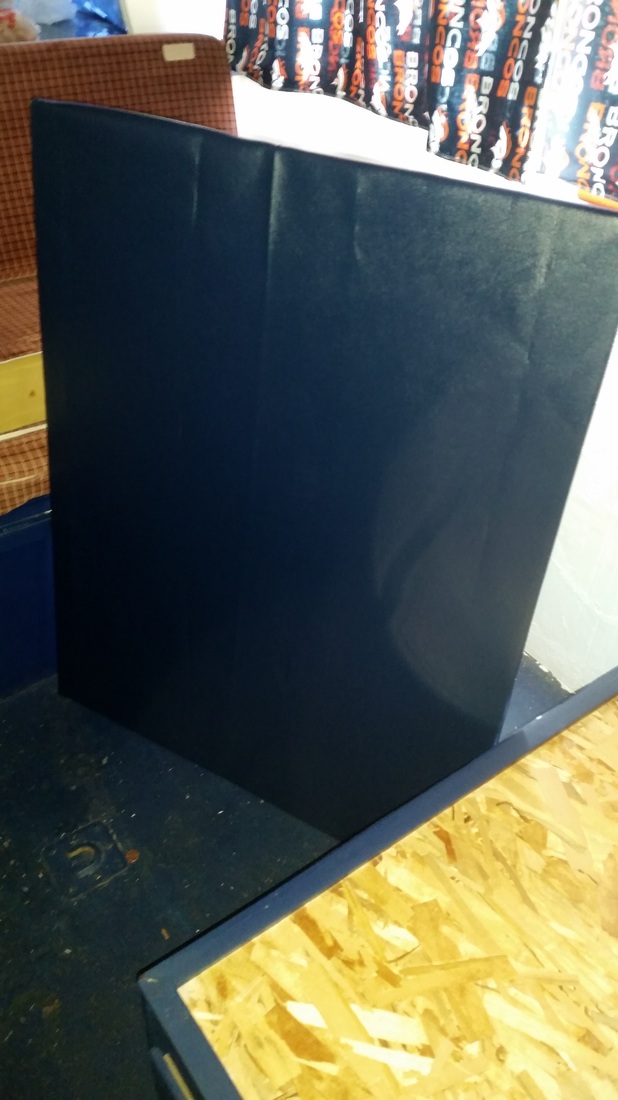
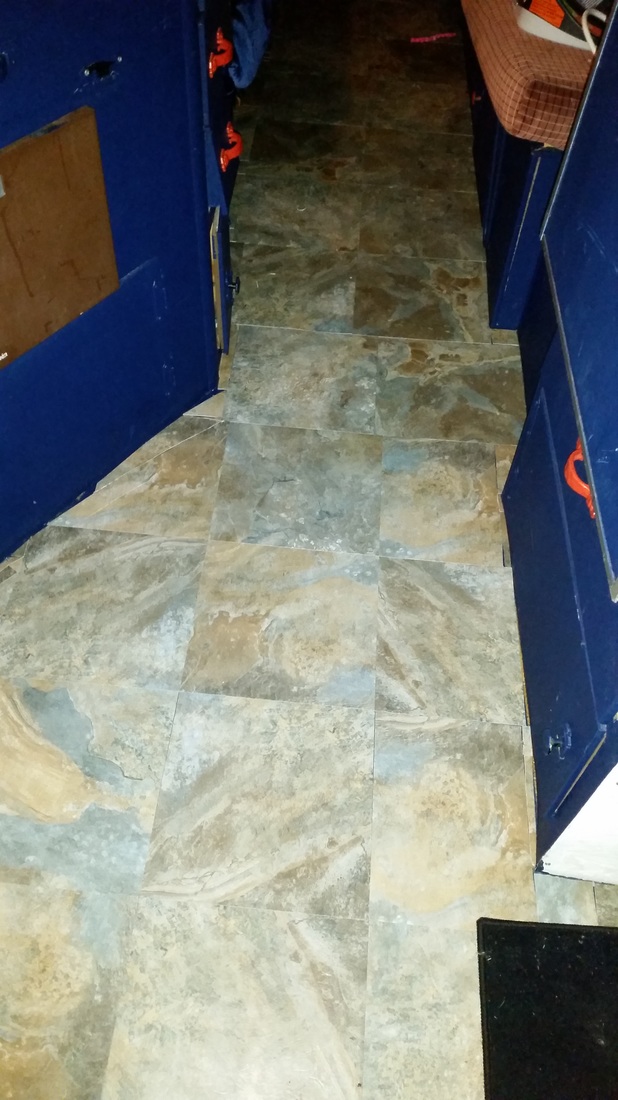
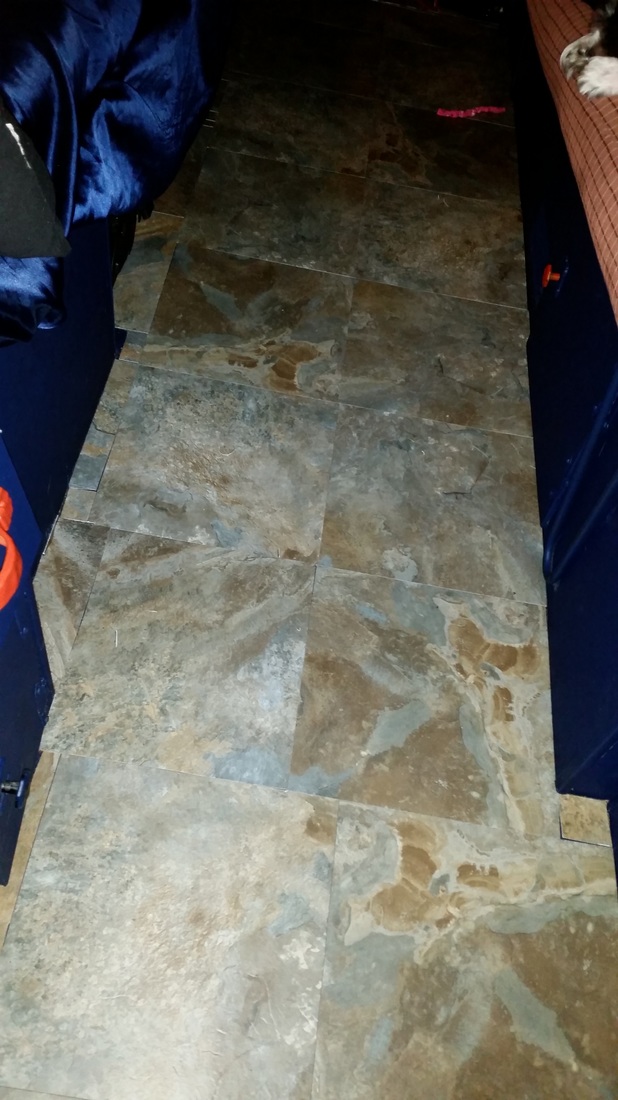
If you like the look of tiles, but want something more versatile and convenient, vinyl flooring may be the way to go. As you can see in the above pictures taken during our installation of the vinyl tiles, they completely change the look of the entire motorhome. It's Lightweight Many tiles can be heavy and easy to break. This creates multiple problems in a rolling home. Vinyl flooring is lightweight and harder to crack. Even if you do somehow manage to mess up a spot, they are easier and cheaper to fill in. Imagine all the extra weight that would be added to your RV if you used traditional tiles. No thank you. I don't know about you, but ours has enough extra weight added as it is. Vinyl Flooring Is Easy To Install And of course, one of the best reasons to install vinyl flooring is that it's super easy to do. There are so many projects and repairs in an RV if you use it often. Vinyl flooring will allow you to do it yourself inexpensively and quickly without having to hire help and pay an extra cost.
0 Comments
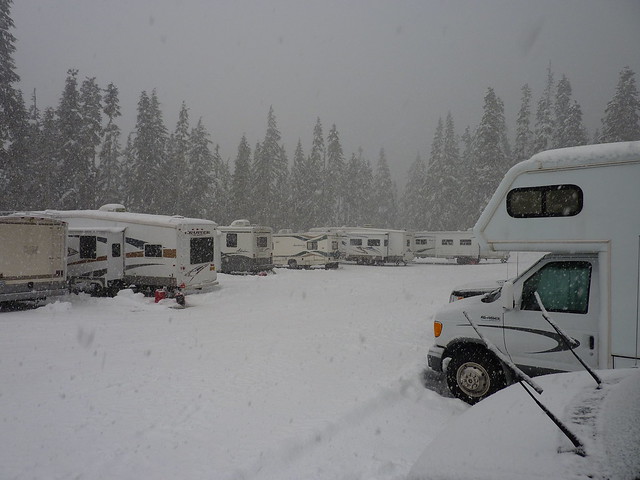
When deciding to live or camp in your RV for the winter, there are many things to consider. The most important factors include keeping the heat inside (and cold air out) and keeping all of your tanks and connections from freezing. Watch the videos below to learn what you can do to properly winterize your RV for winter living and camping. Be sure you don't winterize it for storage, rather than living, as there is more than one type of winterizing. We love the advice from the two experts in the videos below, as they offer practical tips everyone can follow and they both have different things you can apply.

Need to replace the fabric on your RV awning? Why fight with it, trying (and failing) to figure it yourself? Don't risk injury. Instead, watch this video to make sure you do it right (and easily) the first time.
If your RV sink is turned off or broken in some way, there are still several ways to make use of it. Find out which way is right for you, based on how bad your RV sink situation really is.
Method One: Hand-Fill and Drain Later This method is best for those who have a working drain and a grey water tank that is less than ¾ full. If your p-trap is leaking, do not use this method. However, if there are no leaks when your pump is turned off and your grey water drains into the tank properly (and your tank is capped with the release valve closed), you can use this method. Since your RV sink pump will be turned off, you must be either boondocking or you have an issue when the pump is turned on. This means you will need a couple gallons of water. One is for a rinse bucket and the other is for your washing water. You can either buy this water or if you are at an RV park (or other location) with access to water, you can fill up a jug or bucket accordingly. Plug your drain and fill one side of your turned off RV sink with water. Add antibacterial dish soap and swish it around to make it soapy. Add dishes and wash them. Place them in the empty side of the sink and drain the soapy side. If you have a heat source available, you can boil the water first for added disinfecting. Use the rinse jug or bucket to rinse the dishes over the unplugged side of the sink. Again, only do this if your tank can hold both the rinse water, as well as the soapy water. Dry the dishes inside the clean sink, on a dry towel, or in a drying rack. Once you have access to a sewer drain hookup, drain your grey water tank. If you can’t get access to a hookup and you need to drain it, drain it into a bucket, safely handle/store it, and drain the bucket as soon as there is a safe place to do so. Method Two: Hand-Fill and Hand Drain This method is best used if your RV sink drains well, but the tank is full. Follow the same instructions as above, except don’t drain the water into the sink. Both sides should be plugged. When emptying is needed, siphon the water out with a jug and pour it into a bucket. Follow proper safety methods for disposing of the grey water in the bucket. If there is any residue left in the sink that cannot be siphoned, use a towel to soak it up and dry and clean the towel as soon as possible. Method Three: Cover the Drain Hole and Use Bins in the Basins This method is basically the same as method two, except you’re going to use bins to do the washing into so that as little as possible gets into the actual RV sink. This is best for when you either don’t want to siphon out water or don't want to risk getting too much water into the actual sink. Other Possible Options
|
RV, Nature, & Travel Shamans

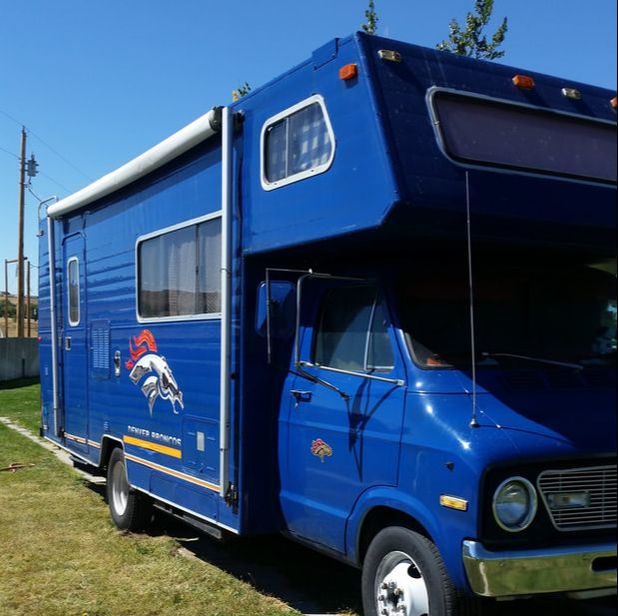
We are a homeschooling family, sometimes roadschooling in an RV. We enjoy spreading the word about how to #RV successfully! We've traveled across the country in a '77 Minnie Winnie decorated Denver Broncos style and dubbed the BroncoBago. We've also had other rigs as well. Follow along as Lyn Lomasi and family share adventures, tips, how-to guides on the RV Life in a #Winnebago, and more! If it's about RVs, homeschooling, roadschooling, camping, and the like, you can bet we'll cover it. Hop in and enjoy the ride!
Categories
All
Archives
November 2023
|
- Brand Shamans
- Brand Healing
- Inner Healing
-
INTENT-SIVE NATURE
- Content & Brand Elevation
- Healing Jewelry & Talismans
- Bath, Beauty, & Self-Care
- Healing Sessions
- Rituals, Herbs, & Altar Supplies
- Gawwwdess Baby Boutique
- Soul Flame Gifts
- Yoga & Meditation
- Books & Media
- Education & Homeschool Resources
- Home, RV, & Decor
- Clothing
- Pets
- Custom Orders
- Monthly Subscription Boxes
- October Festivals
- FLOW-Key Parenting
- About & Contact
- RV, Nature, & Travel Shamans
- Souls Within
- Life & Home
- Heart 'N Mind Homeschool
- The Homeschooling Mommy
- Books & Authors
- Speak Up!
- Pawsitive Pet Parenting
- Manifesterz
- Gifts In Minutes
 RSS Feed