|
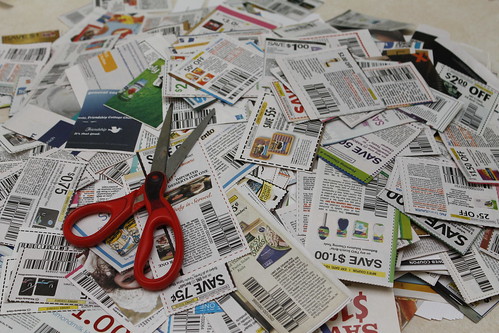
If you're a frugal shopper (or cheap) like me, then you need an equally frugal (or cheap) place to store your coupons. Follow along to learn how to make your own coupon organizer. Minimal sewing skills are required, but this simple project can even be done by sewing novices.
Materials for Making Your Own Coupon Organizer Zippered pencil pouches can easily be purchased for less than a dollar each if you go at the right time. You'll need about five zippered pouches. They should be around 4" x 9" and should not be the ones that include holes for three-ring binders. Dollar stores and back to school sales are a great place to find these. You'll also need a large hand sewing needle and embroidery floss in a color that matches your pouches. Since you'll be sewing, be sure you also have some scissors on hand. How to Make Your Own Coupon Organizer Easily Now that you've gathered all the materials for your simple coupon organizer, it's time to get started. Line up the pencil pouches evenly, making sure that the zippers are all facing the same way. Thread the needle with the embroidery floss. A quick tip to remember when threading the needles is to bring the thread to the needle, not the other way around. Now sew around the edges and bottoms. This should connect all of the zippered pouches together. The zippered sections, as well as the sections in between the zippers, can be used for organizing coupons. Adding Extra Features to the Simple Coupon Organizer If you want to label your homemade coupon organizer, it should be quite simple to stick adhesive labels to the upper inside of each section. Label the coupons in a way that you will be able to understand and get to fairly easily. Some suggested categories include dairy, cereal and breakfast foods, canned goods, breads, meats, cooking/baking, and snacks. For convenience, you may also want to make it so that your coupon organizer attaches to the handle of a grocery cart. To do this, purchase an extra zippered pouch. Cut the sides of that pouch. While sewing the pouches together, attach the cut pouch to the back side, leaving the cut half sticking up at the top. Attach a strip of velcro to the top edge of that piece. Determine where the other part of the velcro would need to go on the back to circle that flap around a shopping cart handle. Then, attach it to that area. That's it. Now you have an ultra-convenient and ultra simple coupon organizer. Content Manifested by Intent-sive Nature by Brand Shamans. Brand Shamans Content Community LLC helps save the web from crap content daily! Experience a powerful, impactful brand boost NOW with any of our appropriately matched ✨Content & Brand Elevation Services✨ .
0 Comments
Leave a Reply. |
LIfe & Home Journal
Archives
January 2024
Categories
All
|
- Brand Shamans
- Brand Healing
- Inner Healing
-
INTENT-SIVE NATURE
- Content & Brand Elevation
- Healing Jewelry & Talismans
- Bath, Beauty, & Self-Care
- Healing Sessions
- Rituals, Herbs, & Altar Supplies
- Gawwwdess Baby Boutique
- Soul Flame Gifts
- Yoga & Meditation
- Books & Media
- Education & Homeschool Resources
- Home, RV, & Decor
- Clothing
- Pets
- Custom Orders
- Monthly Subscription Boxes
- October Festivals
- FLOW-Key Parenting
- About & Contact
- RV, Nature, & Travel Shamans
- Souls Within
- Life & Home
- Heart 'N Mind Homeschool
- The Homeschooling Mommy
- Books & Authors
- Speak Up!
- Pawsitive Pet Parenting
- Manifesterz
- Gifts In Minutes


 RSS Feed


