|
by Lyn Lomasi, Write W.A.V.E. Media Staff
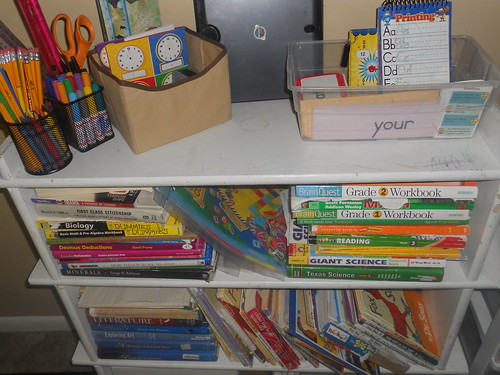
"I can't find my shoe!" "I want my red skirt!" Organizing a kid's bedroom with him in mind helps prevent these and similar scenarios. Offer space-saving solutions that are also convenient to your child for the best results. Being a mom to many has taught me many things about storage and organization. Here are some of my top must-have items for organizing a kids bedroom.
Canvas bins offer many solutions. These come in many sizes and can be used all over the room. Slide a flat canvas bin under the bed for storing shoes and extra blankets. Choose canvas bins of all sizes to organize toys and other items on a shelf. Have a certain bin designated to library books or toys that travel in the car or to Grandma's house. The possibilities are endless when it comes to canvas bins and kids. Hanging rod organizers help kids keep track of items. Need an easy way to be sure your kids always know where there shoes and matching outfits are? Try closet organizers that hang from the clothing rod. Some have compartments and some keep clothing condensed. You can find shoe racks, sweater racks, and even special hangers that help kids keep their items neat and easily accessible. Hanging storage solutions create more floor space. Need a way to get all those stuffed animals or other collections off the floor? Try hanging the stuffed animals in a fun design or finding a ceiling storage rack for them. These are generally very cost-effective and can be found in varied shapes, sizes, and materials. It also keeps the items in the child's room, while keeping them out of the way at the same time. Wall storage helps organize smaller items. Too many items strewn across the dressers and shelves? Try wall organizers. These could be made of wood, canvas, or metal, depending on your child's décor and their intended purpose. You can even make your own if you're feeling inventive. Use up all that wall space, instead of letting it go to waste. You'd be surprised at how much more space your child will have. Drawer dividers help kids keep clothing neat. Tired of going to grab something from your child's drawer and seeing everything disorganized. Try drawer dividers. By sticking these in between certain items, it helps your child see that everything has its place. This must-have bedroom organizational item is especially handy for younger kids.
0 Comments
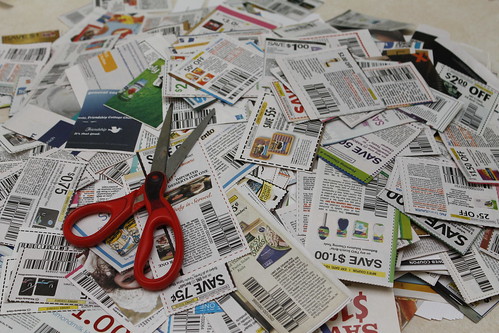
If you're a frugal shopper (or cheap) like me, then you need an equally frugal (or cheap) place to store your coupons. Follow along to learn how to make your own coupon organizer. Minimal sewing skills are required, but this simple project can even be done by sewing novices.
Materials for Making Your Own Coupon Organizer Zippered pencil pouches can easily be purchased for less than a dollar each if you go at the right time. You'll need about five zippered pouches. They should be around 4" x 9" and should not be the ones that include holes for three-ring binders. Dollar stores and back to school sales are a great place to find these. You'll also need a large hand sewing needle and embroidery floss in a color that matches your pouches. Since you'll be sewing, be sure you also have some scissors on hand. How to Make Your Own Coupon Organizer Easily Now that you've gathered all the materials for your simple coupon organizer, it's time to get started. Line up the pencil pouches evenly, making sure that the zippers are all facing the same way. Thread the needle with the embroidery floss. A quick tip to remember when threading the needles is to bring the thread to the needle, not the other way around. Now sew around the edges and bottoms. This should connect all of the zippered pouches together. The zippered sections, as well as the sections in between the zippers, can be used for organizing coupons. Adding Extra Features to the Simple Coupon Organizer If you want to label your homemade coupon organizer, it should be quite simple to stick adhesive labels to the upper inside of each section. Label the coupons in a way that you will be able to understand and get to fairly easily. Some suggested categories include dairy, cereal and breakfast foods, canned goods, breads, meats, cooking/baking, and snacks. For convenience, you may also want to make it so that your coupon organizer attaches to the handle of a grocery cart. To do this, purchase an extra zippered pouch. Cut the sides of that pouch. While sewing the pouches together, attach the cut pouch to the back side, leaving the cut half sticking up at the top. Attach a strip of velcro to the top edge of that piece. Determine where the other part of the velcro would need to go on the back to circle that flap around a shopping cart handle. Then, attach it to that area. That's it. Now you have an ultra-convenient and ultra simple coupon organizer.
Is your organization technique missing some steps? Do you even have a plan? If your household tasks are getting out of control, you need to get organized. Even if your to-do list is monumental, you can get it done by organizing your household tasks step by step. My natural multi-tasking tendencies have gotten me into trouble a few times. But with a little organization, it can all be put back together.
Step One: Make a list of every household task. Before you can even get started, you need to have a clear breakdown of every single thing you do. From vacuuming the stairs, to dusting, to dishes, and so much more, don't leave anything off your list. It's important to get everything on there so that you know exactly what you are dealing with. If you leave things off, it pretty much defeats the purpose of making a list for organizing household tasks to begin with. Step Two: Organize the list by timeliness. Make a column each for daily, weekly, and monthly tasks. Go through your tasks one by one and place them in the appropriate column, according to how often they need to be done. Not all aspects of cleaning and other household chores need to be done every day. For instance, paying the bills can be cut to weekly or even monthly, depending. Vacuuming the basement room no one uses should not be taking up time every day. You know which tasks you should and should not do every day, even if you don't exactly follow that right now. Step Three: Eliminate or slow down on unnecessary tasks. You may find there are some things you are doing too often, which takes time away from other tasks. For instance, do you really need to dust the ceiling fan twice a day every day? Really? You could be doing something more productive, like tackling that huge pile of dishes that sat overnight. Prioritizing is a big part of organizing household tasks. Look through your list and find things that you really don't need to be doing or things that can be minimized. Leave deep cleaning to the weekly and monthly task list, so that you can tackle more of your daily tasks efficiently. Step Four: Designate some tasks to another person, if possible. If you have kids and/or a partner or spouse, this will be easier to do. In that case, you should definitely not be the only one completing household tasks and chores. If you don't have anyone else to share tasks with or there are too many, consider hiring someone. Not all families can afford to do this. But if you can, it can reduce some of the time you spend cleaning and organizing. Household tasks can take up a great deal of time, especially if there are more chores than your household members should be expected to do. Step Five: Test it out and adjust as necessary. Once you have completed the other four steps, it's time to try out your new plan in action. If you aren't seeing a difference, then it's time to readjust steps two through four. Keep testing and readjusting until you have a plan that works well. Organizing household tasks is a daunting job. But it's certainly better than running around like crazy and accomplishing what seems like hardly anything. Once you get down a routine that works, stick to it and you'll see a major improvement in your household organization and most likely some extra time to enjoy yourself.
LAST UPDATED 2/24/2022
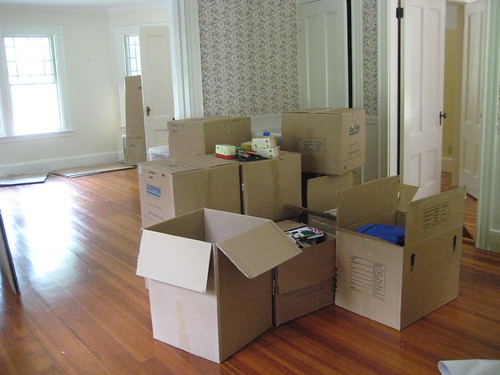
Preparing to move? It can be so draining. But if you keep things organized, it will save you time and energy in the long run. Think weeding is all you should do? Here are some other things you can do to keep things organized during a move.
Do you really need all those clothes? Some people will gasp at this, but there is a such thing as having too many clothes. You know half of them are probably not even your size anymore. Go through your clothing and donate what no longer fits or those items you never wear. If you're holding onto something for just the right moment, you may not ever wear it. Only keep what you actually wear, along with some type of formal attire if you have any. Speaking of formal wear, do you really need fifteen formal gowns? Really? How often do you wear them? If your answer is never or hardly ever, you don't need more than one. It's easy to use one "little black dress" as the base of your outfit and have it look completely different each time. I would even go so far as to say most people don't even need one. They can be rented if you actually have the occasion for one. Most people don't. If it's already there in your closet, you may as well make use of your favorite. Follow the three month rule. Excluding seasonal items, if you haven't used something in three months, give it to someone who will or recycle it. You have no use for it. Yes, I know that rug from the '70s may go back in style at some point. But part of the organization involved with moving is getting rid of things you don't need. You don't need that rug. You also don't need all those stuffed animals you should have gotten rid of as a kid or that cracked mirror that's peeling off your bedroom door. Organize unwanted items by donating or selling what's still useful, recycling what you can that isn't, and trashing what's left. Label everything and keep it neatly in a designated area. This has been a lifesaver as we prepare to move. Each time we pack something, it goes into a particular area of the house. If it's a box or container, it gets labeled. If it's furniture, it gets positioned in a way that it cannot be used. This helps prevent the dreaded unpacking of packed items. We try to keep that area as orderly as possible but with kids running around, it can be difficult. Kids don't like their items packed. They will try to unpack them. Packing them as securely and out of reach as possible helps, if you have little ones. A locked unused room or storage area may help. Tape each box shut once it's packed, to keep out kids AND adults. Again, kids don't like their items packed. So to prevent the kids from unpacking the boxes, it's a good idea to tape them all shut. We do this with all containers, even plastic storage bins. Duct tape is our preferred tape as it deters the kids better than standard packaging tape. It will take them longer to work at it and generally, they'll get caught before they get very far. Since I know you are thinking it, yes, sealing the boxes with tape helps prevent adults from unpacking too. It isn't foolproof, but it does help. When everything is taped up and ready to go, it is more likely to stay organized as you prepare to move.
LAST UPDATED 2/24/2022
|
LIfe & Home Journal
Archives
January 2024
Categories
All
|
- Brand Shamans
- Brand Healing
- Inner Healing
-
INTENT-SIVE NATURE
- Content & Brand Elevation
- Healing Jewelry & Talismans
- Bath, Beauty, & Self-Care
- Healing Sessions
- Rituals, Herbs, & Altar Supplies
- Gawwwdess Baby Boutique
- Soul Flame Gifts
- Yoga & Meditation
- Books & Media
- Education & Homeschool Resources
- Home, RV, & Decor
- Clothing
- Pets
- Custom Orders
- Monthly Subscription Boxes
- October Festivals
- FLOW-Key Parenting
- About & Contact
- RV, Nature, & Travel Shamans
- Souls Within
- Life & Home
- Heart 'N Mind Homeschool
- The Homeschooling Mommy
- Books & Authors
- Speak Up!
- Pawsitive Pet Parenting
- Manifesterz
- Gifts In Minutes


 RSS Feed


